Showing posts with label quilting. Show all posts

Tuesday, December 2, 2014

How to figure out backing fabric requirements

I recently stumbled upon a question in a quilt group on Facebook asking, "How much fabric do I need to back a 6' x 8' quilt?" Instead of just giving an answer, I decided to write this post to teach her (and others) how to figure it out herself. Sort of a, "tell a quilter how much backing fabric she needs, help her with one project; teach a quilter how to figure it out herself, help her for all of her projects" situation.

The first thing to do is take those numbers in feet and change them to inches. Instead of 6' by 8', we need to think of it as 72" by 96". Quilting fabric usually comes in widths ranging between 40 and 44 inches. I'm going to assume 40, because it's better to have too much than too little.

If we double 40, we get 80. Since 80 is generously bigger than 72, she won't need to sew more than two widths of fabric together. So we know that we will need two times the longer dimension of the quilt, which is 96. So, if we double 96, we get 192 inches. Divide that by 36 (because there are 36 inches in a yard) and voila, we get 5.33 yards. Of course, because we don't want to have to be super precise, and because shops don't cut perfectly, and everything else, we need to increase that amount. So, I would advise her to buy 6 yards of fabric.


This method works with larger quilts, too. If your shortest dimension is 90, you would simply sew three lengths of fabric together using the longer length multiplied by three (along with -- no kidding here -- about another yard of fabric to allow for cutting, sewing, and shrinkage). 

Keep in mind that my method above is assuming she is doing her own quilting. If she is sending the quilt to a longarmer, she needs to add 8 inches to each dimension (most times the longarmer will describe this as "four inches on each side"). So in that case, we would be looking at a backing that needs to be 80 by 104. The 80 is okay in this case; we were assuming we would only get 40 inches of usable fabric when in reality we will probably get a little more. Plus, though I'm not a longarmer (and I don't even play one on tv), I think most can get by with a smidgin less than four inches all around. But we would still need to double the 104 number to come up with 208. Divide that by 36 and we get 5.778 yards. Personally, I'd probably still go with 6 yards, but if she wanted to be really safe, she could get 6 1/4 yards.

So, that wasn't too painful, was it? I'll talk about wide backings and T-shaped backings in another post.

Wednesday, October 12, 2011

Stems!

I finally have something to show! I have been working on a class sample for my "level two" class. The pattern is called Stems and it's by Fig Tree Quilts. This one is quilted fully, but the class doesn't actually cover that part of it. We'll be covering 45 degree angles (i.e., triangles), sashing, and borders. If we have time at the end of class we'll also go over basic stitch in the ditch quilting.

Photos! I used a Kaffe Fassett strip roll for the leaves. I used King Tut for the quilting. I seem to not be able to quilt loosely. In fact, you may be able to see where I started if you zoom in and look closely at the full quilt photo -- it's the loosest part! I used two whole spools of King Tut (500 m each!) and actually had to quilt the last little corner in plain red Mettler. You can't really see it, though.

Monday, October 25, 2010

Backing and quilting

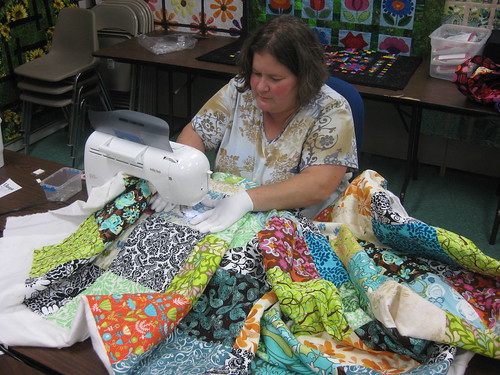
Here's a shot of the back of the black/white/green commission I'm working on. The block is a signature block from the baby shower. The backing is Riley Blake.And here's a photo of me quilting it. It's simple loops, but I love it anyway. I'm almost done with the quilting. I gave up when my thread mysteriously broke, even though I had changed the needle. It probably has something to do with the fact that many of the non-white fabrics are mystery fabrics, including home dec weight and flannels. It sure makes for an interesting quilt, though. It will have lots of texture for little fingers to explore.
It's actually quite bright in my sewing room, though you wouldn't know it from this photo.

Thursday, July 8, 2010

Little, purple, cute!

Lots of projects going on now. I haven't written lately because I've been so busy! I haven't forgotten about the giveaway, though.

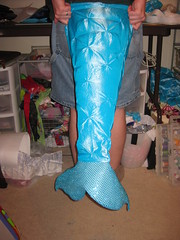
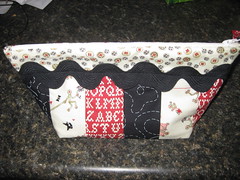
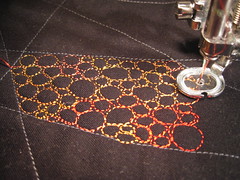
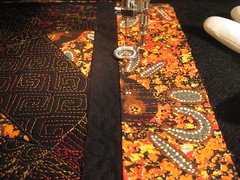
In Molly news, she got her first sewing machine. It's purple! It's pretty loud, but it is a real machine, with a real bobbin, so it meet's Mama's requirements. She's sewing together the pieces that were part of the shop display for our Scrap Therapy classes, which I'm no longer teaching.This Saturday at 2 pm, the Dumbarton Library is putting on a small production of The Little Mermaid and I was recruited to make mermaid costumes. This is an in-progress photo, but you get the idea. They're done now, and I'm pretty pleased, considering I did two start to finish in a couple of evenings. Ugh -- please ignore the disastrous state of my sewing room!I finished another bag for the Minnesota Road Show. I hope you're coming if you're in the area. It's only ten bucks and half is taught by me! This bag is Zippy Strippy by Atkinson Designs. It's not technically part of the road show, but I'm incorporating it anyway.And finally, I'm doing a project for a friend who I recently unearthed in Australia. It's been ten years since I've seen him and I'm so excited to make something that's not a required project. I was lucky to find some Australian inspired fabric. I'll post a photo when it's all done. This photo some of the quilting when I was just starting. I love pebbling.What I did was layer the print below the black, then I quilted most of the spaces, but left a few unquilted. Then I cut away the black layer to reveal the print below. I'm going to couch some yarn over the grey straight lines.

Thursday, March 11, 2010

All backgrounds done!

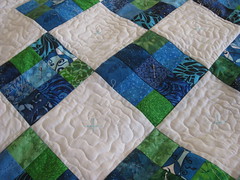
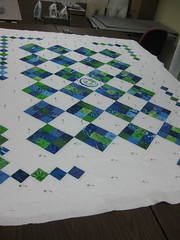
Here's the auction quilt so far:All the background (white) is quilted. The little + signs are disappearing ink, so I'll make them go away, of course, before it's really done. Tomorrow I will go into school and have the kids pick a quilting pattern for their blocks. Then I'll quilt it in front of them. It's nice to be on the home stretch. Then, I just have to hide a few threads, make the binding, apply the binding and sew the binding to the back by hand.

Sunday, March 7, 2010

Mama's new toy

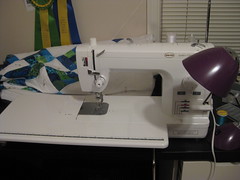
Well, I'm making more progress on this year's auction quilt. On Friday, I basted it. This is the last time I do a true white background. There were so many threads to cut! I spent at least and hour and a half trimming threads from the quilt back.Also, my new machine is here! Don't ask, but it was actually available when I ordered it on Monday (they had one in stock, apparently, that I could have had). Oh well. It made me get a couple things done in preparation. But here she is! I've done some quilting on her already. Now I just need a name. Any ideas?

Wednesday, September 23, 2009

Brittany's quilt

I'm making some real progress on my niece Brittany's graduation quilt. What? Yeah, so graduation was a few months ago. I know. But in quilting time, I'm doing fine. Early, even!

Here I am working away at the quilting, at the shop with Amy. I had to buy new gloves because I left mine at home.
Here is the back. I love the back, maybe even more than the front! I know, it's a lot of white, but I've really been drawn to this look lately. And Brittany's a responsible kid. She'll take good care of it. You can see my loopy quilting on the right side. This is the biggest quilt I've quilted so far, so I wanted to use my most comfortable fill pattern. The label is near the top right, at the end of one of the strips of blocks. These were the leftovers from the front squares.
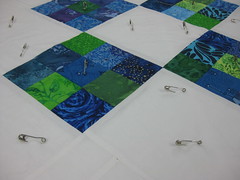
And here is the label. I embroidered it myself. I've decided I love embroidering labels. This is the wave of the future for me, I think. The metal you see in the "with" is from a safety pin on the front. It will be gone when I'm done quilting it.Today it was over 90 degrees so I contend that it's still summer.

Friday, August 14, 2009

Nervousness and underwear

I can't sleep. I'm on medication that seems to make me very sensitive to caffeine. That, and I'm nervous about the Minnesota Road Show. Are you sick of hearing about it yet? I think I'm nervous because these classes, short as they are, come with outlines which are close to scripts. So I'm anxious because I feel like I may miss something. I'm much better when I get to talk off the top of my head (I try my best not to talk in the other direction, if you know what I mean). Anyway, I have quilted the step-out piece for the tote bag section I'm doing.
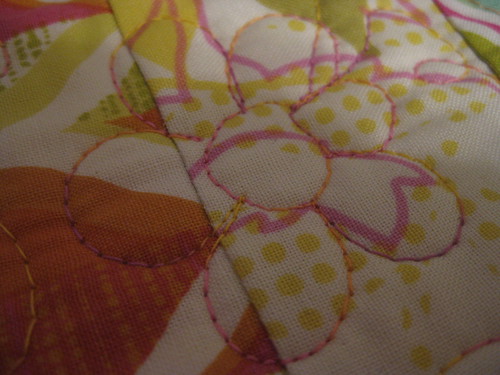
Complete with little flowers. I used a shop machine and took my chances with the needle. I figured, it wasn't a big piece and I wasn't using especially thick thread. However, the thread broke a couple of times and I ended up borrowing a topstitch needle from someone else who was there. It turns out I was using a jeans needle. So, if you ever feel like trying to quilt with a jeans needle, don't bother. It's not worth the hassle.
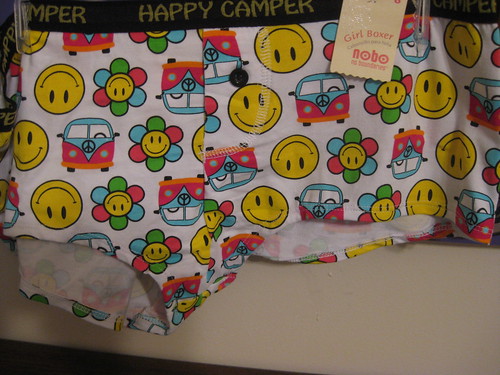
Also, I had to go to the dreaded WalMart (I hate shopping there but we had a gift card) and bought some underwear for Amy. Can you blame me? I think they'll be way too big for her, though.

Wednesday, June 24, 2009

Father's Day gift and finished table runner (well, almost)

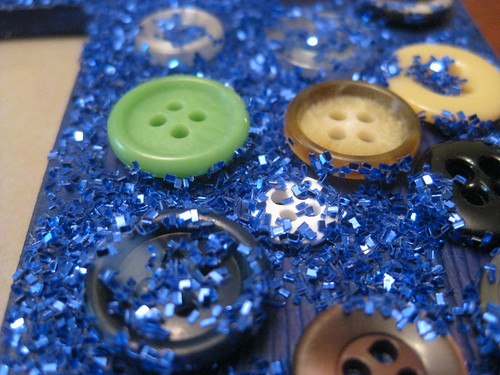
So, it's a little late, but I thought I'd post photos of the absolutely fabulous frame Molly made for RT for Father's Day. The frame was a very cheap one from Michael's; so cheap, in fact, that it didn't come with glass, so Molly's photo got a little wrinkled. We have more, though. Most of these buttons were harvested from the pants I used for the golf pants quilt. If you look closely at some of the ones on the left side of the frame, you'll see an S. Yeah, that's for Sansabelt!
Here's a closeup of the work. There's lots of glitter! I'm still finding blue glitter in my cereal in the mornings.
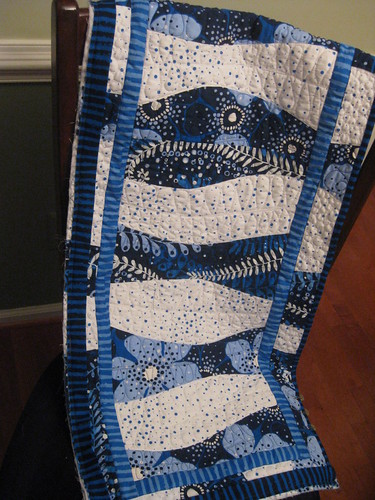
Oh, and in quilting news, I finished the curved piecing table runner for the Minnesota Road Show. Well, except some of the hand stitching on the binding.
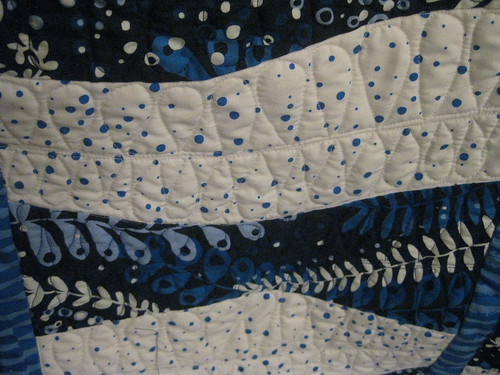
Here's a closeup of the quilting. This is the closest I've ever come to quilting feathers. I tried to replicate the viney plants in the blue fabric. It's hard to see, but I did the same in the blue areas, too.